I'm so thankful to get feedback, and, yesterday, a reader gave me an idea for improving some of the files. I intentionally made the lines in the graphs light gray so that black lines don't obscure pictures you make. Unfortunately, they are so light that some printers make them too light. The graphs work for my printer and perhaps others, but not all. However, I think I might have a tip to help Rebekah.
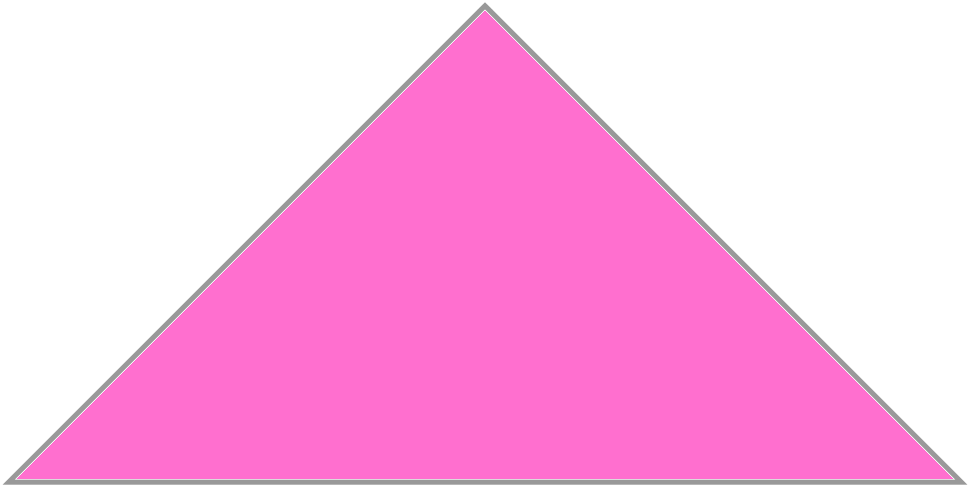
I originally made the PDFs (a document) for printing out and coloring by hand and the PNG (a graphic or picture) for coloring in software. While converting the PDF to PNG is easy in a Mac, I had a little problem. The image is “dithered” which causes that light-colored, thin line between the gray edge and the pink interior in the picture below. It's probably just me, but I don't like the look.
I originally made the PDFs (a document) for printing out and coloring by hand and the PNG (a graphic or picture) for coloring in software. While converting the PDF to PNG is easy in a Mac, I had a little problem. The image is “dithered” which causes that light-colored, thin line between the gray edge and the pink interior in the picture below. It's probably just me, but I don't like the look.
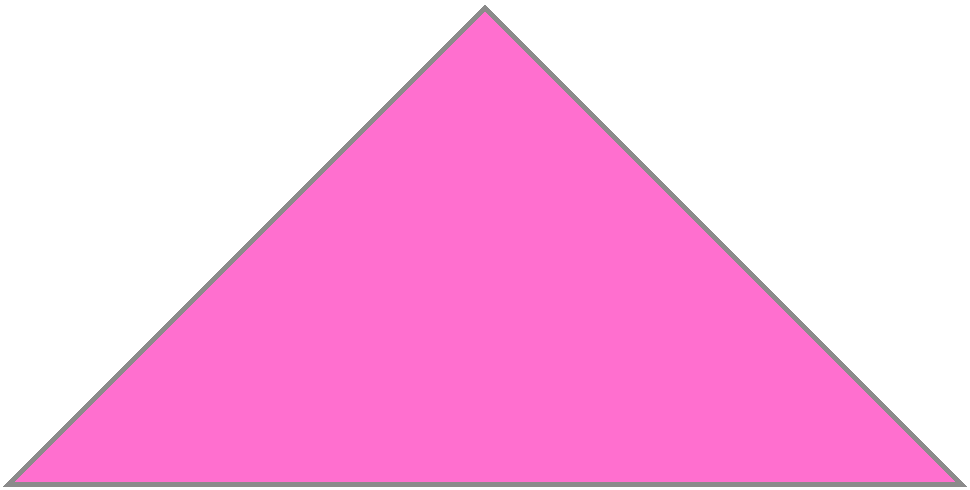
Since I know plenty of people are smarter than I, I always assume that someone has figured out how to “undither." So, I hit a search engine. It can take awhile to get the right search terms. I finally found a simple application for Mac that can undither an image and reduce the number of colors to two colors — in this case, gray and white (because I converted the pink back to white). The name of this handy app is ImageAlpha, and here is the result.
Isn't that better? Okay, so you're underwhelmed. Anyway, doing this meant that, when you fill in colors in a paint program, you get a clean look. There's also another advantage. Using a paint program, you can make the lines darker in a few key strokes. I don't use any super fancy software that cost big bucks. This is probably embarrassing for a Mac user to admit, but I'm so used to an ancient Windows app called Paintbrush that I downloaded a version for my Mac. That proves I'm not that big of a geek. My daughter Pamela loves Paintbrush too because she enjoys making 3D images from scratch. She is quite the doodler.
Rather than go through long explanations that would cause your eyes to glaze over, I decided to record the keystrokes in a video of my computer screen. Being a geek, I know there must be an easy way to do this. There is using QuickTime. In the video below, I have opened the PNG in Paintbrush. I open Paintbrush's toolbox, click the paintbucket icon, and choose the color black. All I need to do is click one portion of the gray in the image and all pixels connected to that one turn black. I picked other colors and started filling in diamonds.
Rather than go through long explanations that would cause your eyes to glaze over, I decided to record the keystrokes in a video of my computer screen. Being a geek, I know there must be an easy way to do this. There is using QuickTime. In the video below, I have opened the PNG in Paintbrush. I open Paintbrush's toolbox, click the paintbucket icon, and choose the color black. All I need to do is click one portion of the gray in the image and all pixels connected to that one turn black. I picked other colors and started filling in diamonds.
There is still one small problem. All the PNG files from yesterday work great, except the triangles. I'm working on it but need another day or two to fix it. Too much fun in the snow wore me out today.
Moral of the story: If you think there is a way to do something, there probably is. Geeks figure out how.
Moral of the story: If you think there is a way to do something, there probably is. Geeks figure out how.
 RSS Feed